Are you following the steps below to perform the operation?
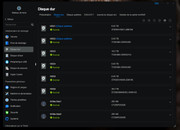
1.Press the power button briefly to turn off the TNAS. Wait until the power indicator goes out, remove the disk to be replaced, and insert a larger-capacity disk.
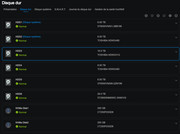
2.Press the power button briefly to turn on the TNAS. You will hear continuous beep-beep sounds, and the message center will report an array degradation message. Go to the right side of the TOS desktop to disable the buzzer.
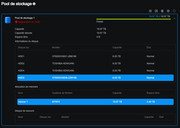
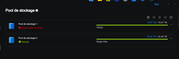
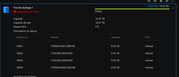
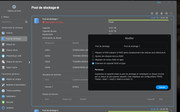
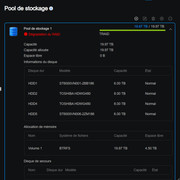
3.Navigate to TOS Control Panel > Storage Manager > Storage Pool (displayed as degraded at this point) > Edit > Select Array Expansion > Select the newly added disk > Confirm Settings.
4.Go to TOS Control Panel > Storage Management > Volume > Edit, and adjust the volume capacity as needed.
If you follow the above steps and there is no response when clicking on the page, please generate and download the log report in TOS > Technical Support > Issue Report, then send it to our technical support email (
[email protected]). We will analyze it.
To contact our team, please send email to following addresses, remember to replace (at) with @
Technical team: support(at)terra-master.com(for technical support)
Service team: service(at)terra-master.com(for purchasing, return, replacement, RMA service)