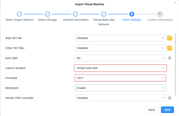
The entire process consists of three main steps, with the configuration of the virtual machine's network being the most critical.
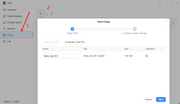
Download the HAOS disk image: First, download the disk image file suitable for virtual machines (usually in .qcow2 or .vmdk format) from the official Home Assistant website.
Create a virtual machine in TOS 7:
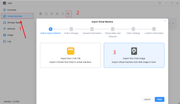
Log in to the TOS 7 system and open the VMs (Virtual Machines) app.
Click "Add VM" to create a new virtual machine.
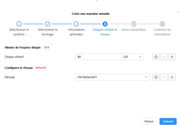
When configuring the settings, select "Linux" as the Operating System (OS) type.
Allocate resources: It is recommended to allocate at least 2GB of RAM and 2 virtual CPU cores to ensure Home Assistant runs smoothly.
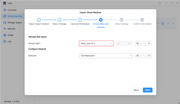
Disk: For the "Primary vDisk Location," select "Manual" and upload or specify the HAOS image file you downloaded earlier.
Key Step: Configure the virtual machine network:
This is the most critical step; incorrect configuration will prevent the virtual machine from accessing the network.
In the virtual machine's network settings, select "br0" (or a similar bridge mode option) for the "Network Source." This allows the virtual machine to connect directly to your LAN—just like other devices in your home—and obtain its own independent IP address.
Select "virtio" for the "Network Model."
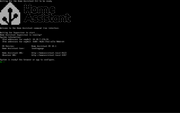
Once these settings are complete, you can start the virtual machine. Wait for it to finish booting up (this may take a few minutes), then access the Home Assistant initialization interface via your browser at `
http://homeassistant.local:8123` or by using the IP address displayed on the virtual machine's startup screen.
To contact our team, please send email to following addresses, remember to replace (at) with @
Technical team: support(at)terra-master.com(for technical support)
Service team: service(at)terra-master.com(for purchasing, return, replacement, RMA service)