How to Expand Mini PC Storage Without Buying a NAS (Mini PC Storage Expansion Guide)
Posted: 20 Aug 2026, 09:20
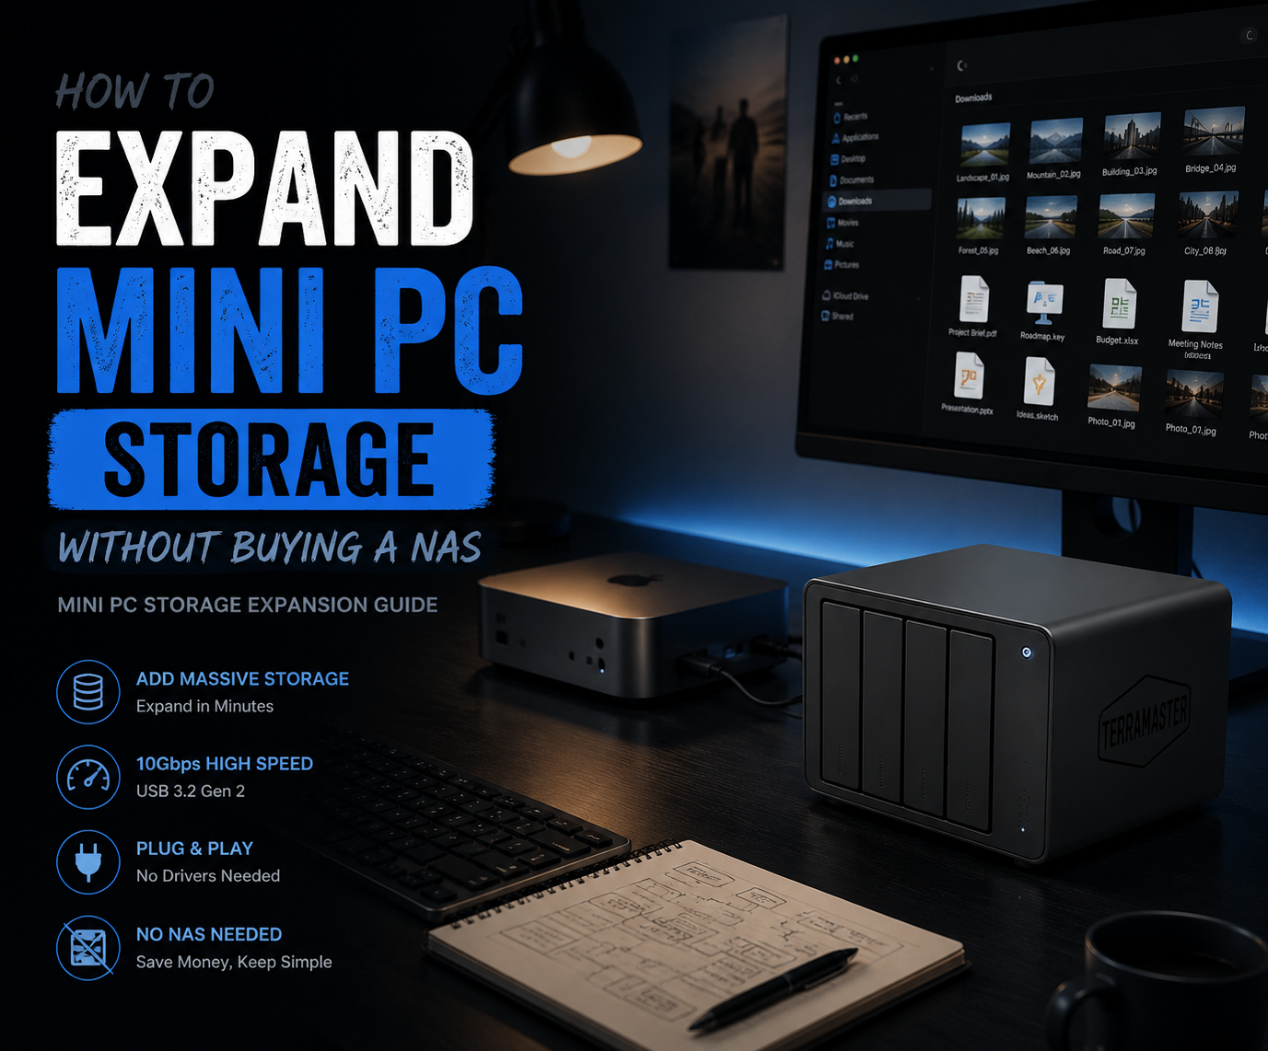
Looking for Mini PC storage expansion without buying a NAS? Discover how TerraMaster DAS direct-attached storage provides simple, low-cost capacity expansion—the ultimate NAS alternative and DIY storage solution for home users.
Mini PCs are powerful, but storage is often their biggest bottleneck. As compact units for a mini pc home server or everyday office setup, Mini PCs have exploded in popularity. They are small, quiet, power-efficient, and capable of running heavy workloads including file sharing, Docker containers, and media streaming. However, most popular Mini PCs (like the Intel NUC, Mac mini, or small form factor PCs) only feature 1–2 M.2 SSD slots or a single 2.5″ drive bay. For users managing photo libraries, 4K video collections, games, or multi-terabyte backups, internal storage runs out fast.
Many users actively look for a Mini PC storage expansion strategy, but you do not necessarily need to buy a full NAS. When facing a full hard drive, people often wonder: Should I buy a bigger internal drive, or buy an entire NAS system? Fortunately, there is a much simpler approach: attach a TerraMaster DAS enclosure. You get massive storage expansion without replacing your Mini PC or configuring a networked NAS.
Why You Need a Storage Expansion Solution for Your Mini PC Home Server
Mini PCs are being used for far more than light desktop work—they now serve as home entertainment hubs, download stations, development environments, and lightweight servers. These workloads generate a continuous stream of data, filling internal drives rapidly. A reliable storage expansion solution is essential. The ideal solution must be easy to install, offer high read/write speeds, provide flexible expansion, and avoid degrading the Mini PC’s performance. Direct-Attached Storage (DAS) satisfies every single one of these requirements.
DAS: The Plug-and-Play NAS Alternative for Mini PCs
Unlike Network-Attached Storage (NAS), Direct-Attached Storage (DAS) connects directly to your host machine via USB or Thunderbolt. Think of it as a high-speed external drive enclosure—plug it in, and it works immediately without complex network setups.
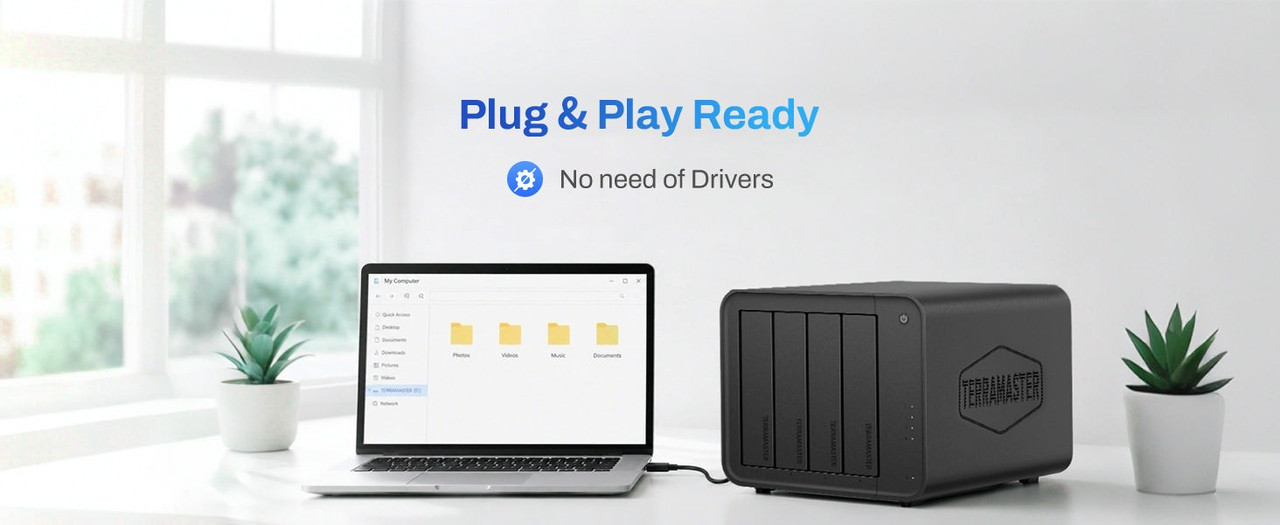
DAS offers significant benefits as a recognized NAS alternative:
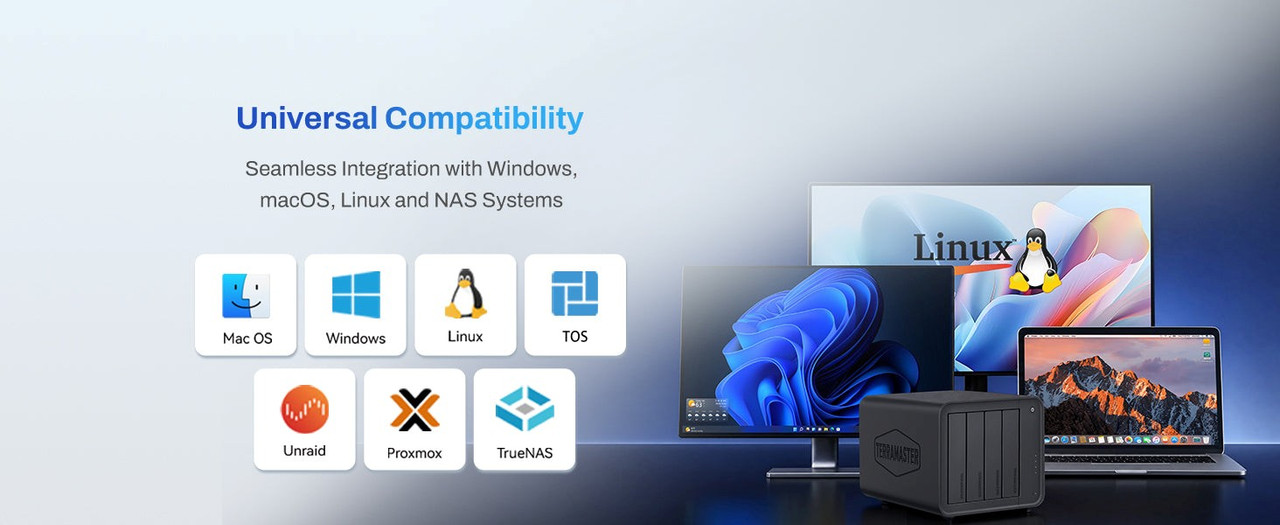
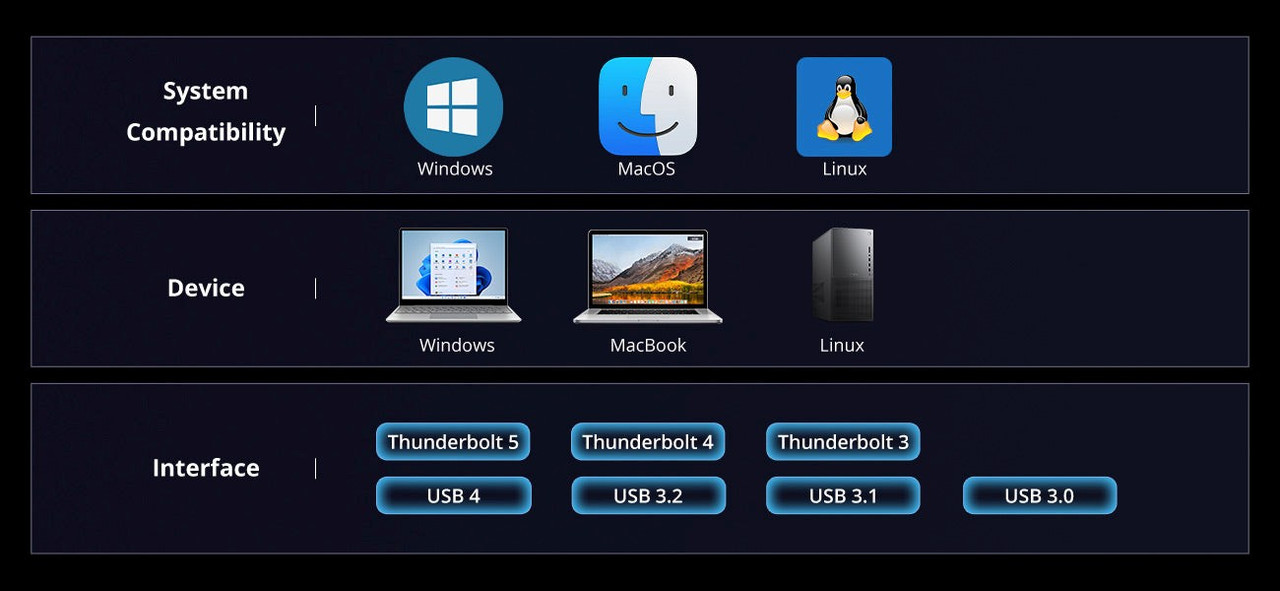
• Plug and Play: Simply connect the DAS to your Mini PC via a USB-C cable. The operating system recognizes it as local storage without requiring extra drivers. It is fully compatible across Windows, macOS, and Linux.
• Scalable Capacity: Choose from 2-bay up to 8-bay+ enclosures based on your storage needs. Models like the TerraMaster D8 Hybrid 2 support up to four 3.5″ HDDs and four M.2 SSDs, offering capacities up to 152TB. When you need more space in the future, simply swap in larger drives.
• Highly Cost-Effective: DAS units cost significantly less than standalone NAS systems. You keep your existing Mini PC or Mac mini and only pay for the DAS and drives. This makes it one of the most affordable DIY storage solutions available.
• Simple Maintenance: There is no need to learn a proprietary NAS operating system—you manage storage directly inside your Mini PC's OS. Backups can be handled using TerraMaster TPC Backupper or built-in OS utilities like Time Machine. If an issue occurs, it stays isolated to your host machine without impacting your wider local network.
DAS vs. NAS: Which One Do You Need?
If you are torn between choosing a DAS or a NAS, consider these key differences:
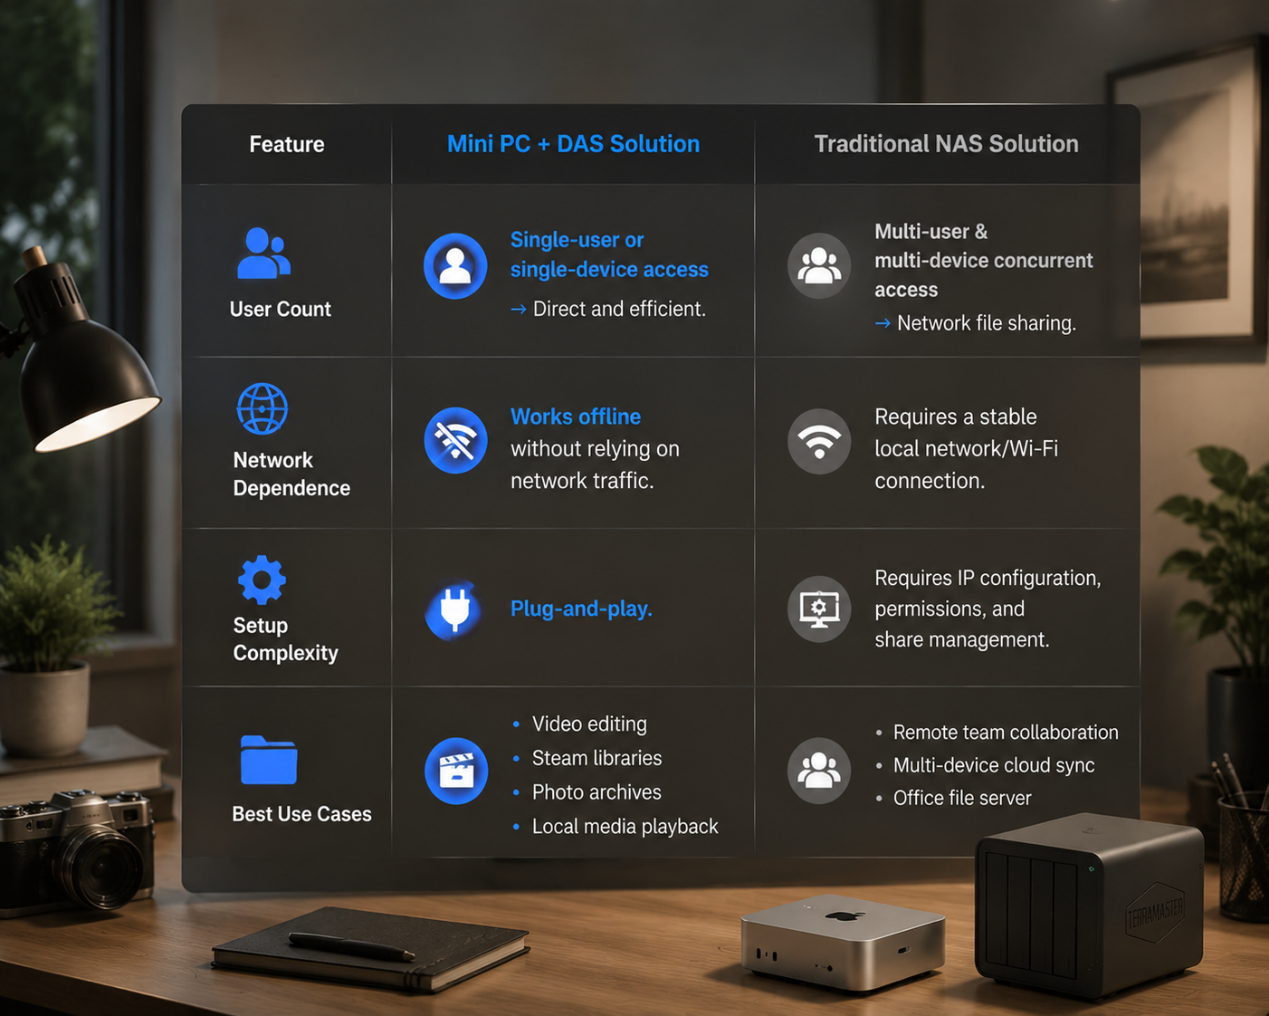
Put simply, DAS is a performance-focused personal expansion tool, while NAS is a multi-user network sharing utility. The Mini PC + DAS combination delivers low-cost, high-flexibility DIY storage solution performance.
If your goal is to build an all-around performance server, check out our master guide on the [Best Home Server Setup for 2026] to see how Mini PC + DAS outperforms traditional NAS setups.
How to Choose External Storage for Your Mini PC Server Home Setup
Selecting the right external storage for a mini pc server home deployment involves evaluating interface speed, bay count, drive support, and budget:
1. Interface Type: Prioritize DAS units featuring USB 3.2 Gen2 (10Gbps) or Thunderbolt 3/4 to prevent bandwidth bottlenecks. For example, the TerraMaster D8 Hybrid 2 uses a USB 3.2 Gen2 Type-C interface (compatible with TB4/TB5) to unleash high-speed SSD throughput.
2. Bay Count: A 2-bay enclosure handles basic backups, a 4-bay enclosure (like the D4-320) balances capacity and redundancy, while an 8-bay model suits massive media libraries and heavy mini pc for home server workloads.
3. Hybrid Drive Support: DAS enclosures that support mixing SSDs and HDDs enable tiered storage—keeping active "hot" data on fast SSDs and archival "cold" data on cost-effective HDDs.
4. Cooling & Acoustics: Built-in smart fans ensure stable drive temperatures during long runs while keeping your Mini PC workspace whisper-quiet.
How to Expand Mini PC Storage with TerraMaster DAS
• Step 1: Choose Your Mini PC. Select a Mini PC that fits your performance demands, equipped with USB 3.2 Type-C or Thunderbolt ports and good thermals for 24/7 operation. Intel Core i3/i5 or AMD Ryzen 3/5 systems with 8GB+ RAM work great. Whether you run Windows or Linux, a capable mini pc server home handles multitasking effortlessly.
• Step 2: Pick the Right TerraMaster DAS. For basic expansion, choose a 4-bay or 6-bay DAS. For maximum flexibility, choose the TerraMaster D8 Hybrid 2, which holds four SATA HDDs and four NVMe SSDs with toolless installation.
• Step 3: Configure Tiered Storage.
o NVMe SSDs: Store the OS, active project files, and video editing caches for high-speed read/write performance.
o HDDs: Store your media library (movies/music), disk images, and long-term backups for budget-friendly big capacity.
• Step 4: Connect & Set Up Backups. Connect the DAS to your Mini PC via USB-C and format the drives. You can use TerraMaster TPC Backupper for incremental backups under Windows, or enable Time Machine on macOS.
Maintenance & Media Server Upgrades
• Backup Strategy: Follow the 3-2-1 backup rule. Use software RAID or automated disk cloning to safeguard critical data.
• Media Streaming Setup: Once expanded, your system becomes a powerhouse mini pc for home media server deployment. You can run Plex or Jellyfin with full 4K transcoding without worrying about local SSD space limits.
Repurpose Spare Hardware to Build a Mini PC Home Server
Many households have unused Mini PCs or old Mac minis lying around. They are often sidelined simply because their internal SSDs are too small. By adding external storage for a Mini PC, you can transform a spare desktop into a high-capacity mini pc home server. This combination revives existing hardware, saves money, and avoids unnecessary electronic waste.
Conclusion
You don't need to spend hundreds of dollars on an expensive NAS just to get more storage space. Adding a TerraMaster DAS gives your Mini PC virtually unlimited storage scalability. By following these steps to configure your hardware, tier your storage, and set up backups, you can create a high-performance, high-capacity server right at home.
As a smarter NAS alternative, this setup gives you a lower-cost DIY storage solution that gets the most out of your existing hardware. To learn more about hardware recommendations and comprehensive comparisons, read our main pillar guide: [Mini PC with TerraMaster DAS: The Best Home Server Setup for 2026.